Animation Principles for Motion Graphics
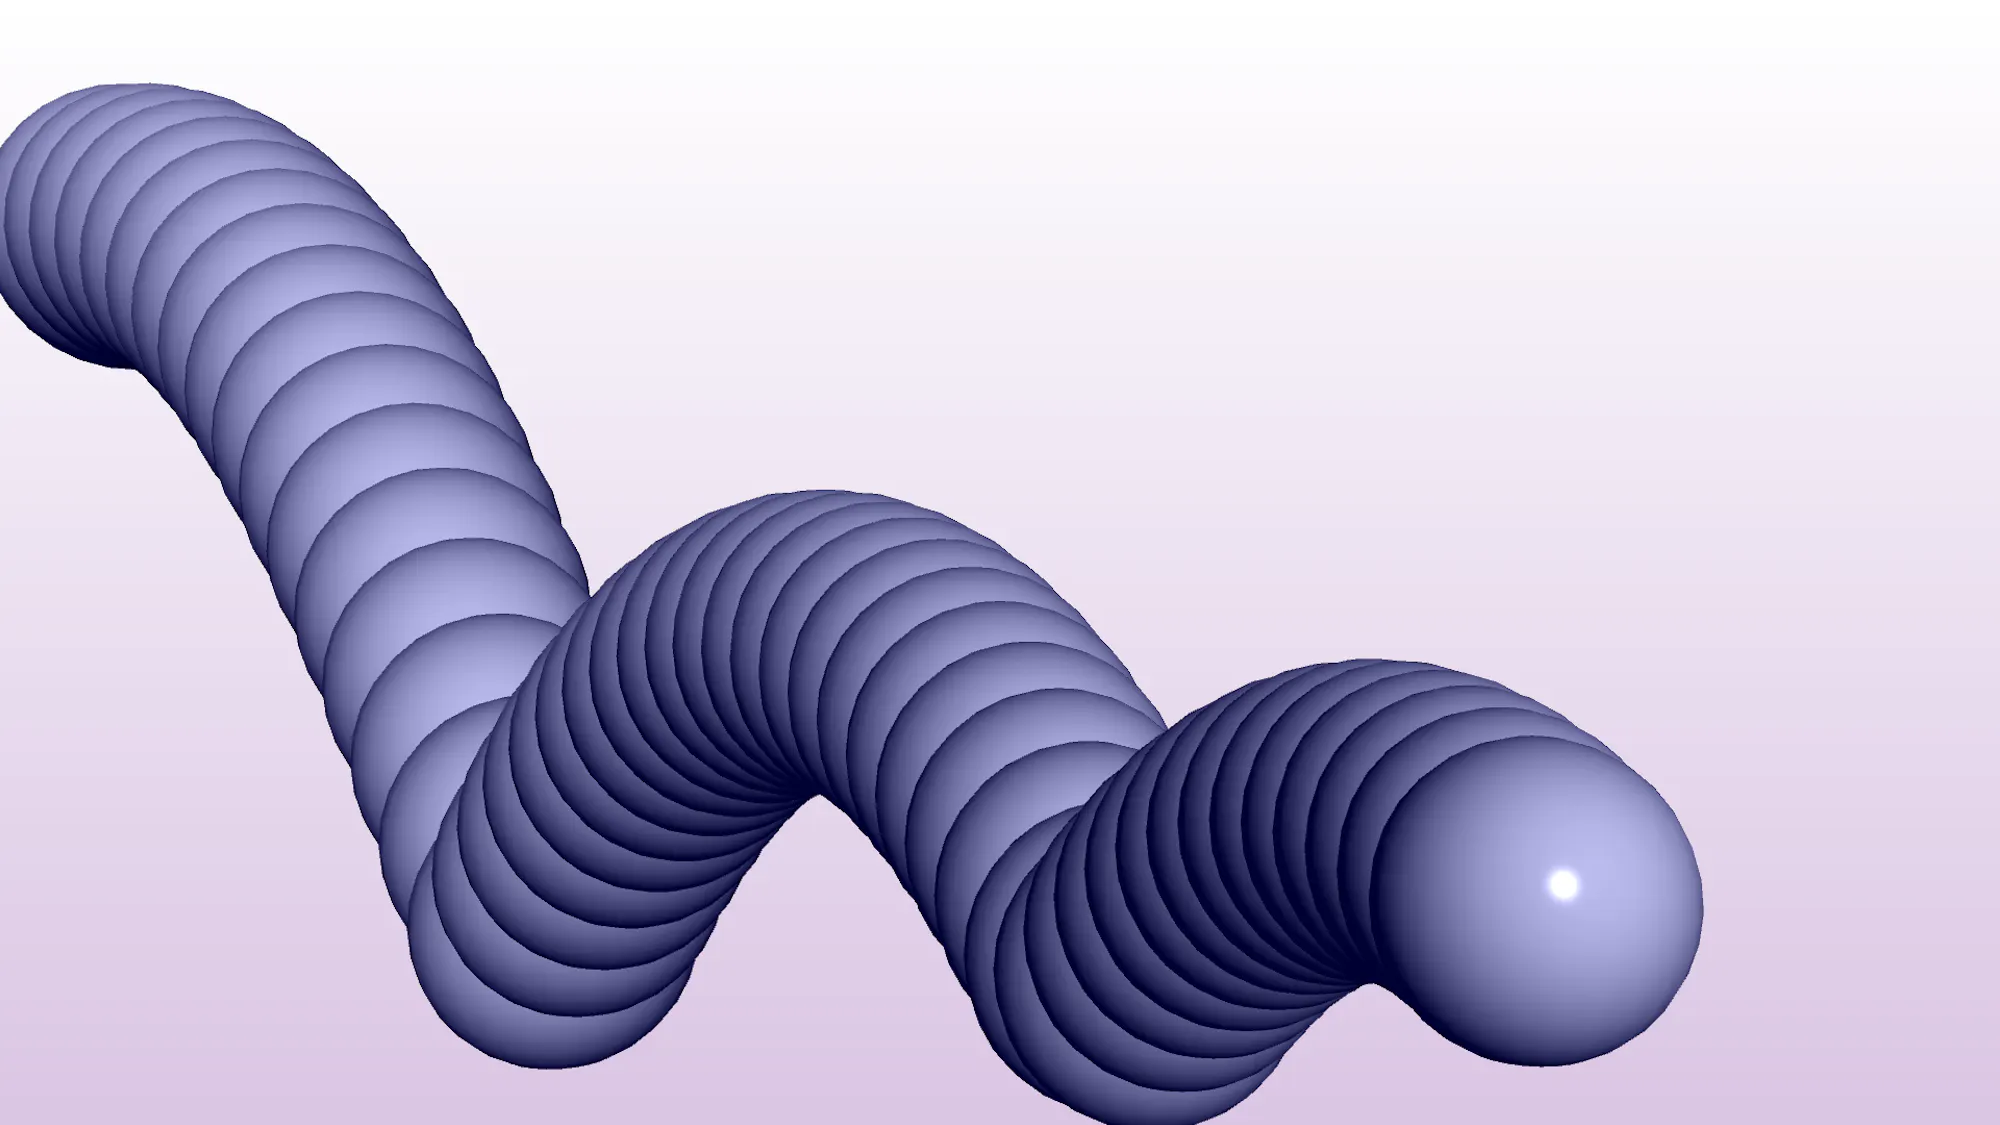
Every animator is an actor. It's a bit more abstract when doing motion graphics as opposed to cartoons, but it's still true! Your motion brings visuals to life, and the choices you make in your animation control the character of that life.
If you are using code as your medium, how do you go about doing that? There are a few techniques that give you a solid foundation to work with: easing, staggering, and secondary motion. I'll go over what that those are and what they look like in code.
A test case for motion
Let's say you have a number of items that you want to animate in. Here's a quick example drawing 5 rectangles, imagining these could eventually be something like images in a final video.
let colors = ['#264653', '#2a9d8f', '#e9c46a', '#f4a261', '#e76f51']
function setup() {
  createCanvas(200, 200, WEBGL)
}

function draw() {
  background(255)
  rectMode(CENTER)
  noStroke()
  let n = 5
  for (let i = 0; i < n; i++) {
    push()
    translate(map(i, 0, n-1, -50, 50), 10 * sin(i * 1.5))
    fill(colors[i])
    rect(0, 0, 50, 70, 8)
    pop()
  }
}
Let's start by animating them in.
Often this begins by defining a period for the animation, which defines how long it will take. Here, I want it to repeat every 3 seconds, so I'm using 3 * 60 as my period. In Butter, where a sketch is a component on a timeline, you'll often want an animation to span the total duration of the component, which the totalFrames global tells you.
To make a repeating animation, you'll want to figure out what frame you're on within your loop. The % operator wraps one number around a second number: frameCount % period will only ever be from 0 up to and including period-1.
Finally, we can use map() to take a frame from that range and turn it into a number between 0 and 1, representing the progress of a certain part of the animation. If our entrance animation should run between frames 0 and 120 of the loop, we can map that range into a 0-1 range. We can then use that to lerp from a starting offset to 0 to make our rectangles slide in.
let colors = ['#264653', '#2a9d8f', '#e9c46a', '#f4a261', '#e76f51']
function setup() {
  createCanvas(200, 200, WEBGL)
}

function draw() {
  let period = 3 * 60
  let progress = frameCount % period
  let entranceProgress = map(progress, 0, 2 * 60, 0, 1, true)

  background(255)
  rectMode(CENTER)
  noStroke()
  let n = 5
  for (let i = 0; i < n; i++) {
    push()
    let offset = lerp(-height, 0, entranceProgress)
    translate(map(i, 0, n-1, -50, 50), offset + 10 * sin(i * 1.5))
    fill(colors[i])
    rect(0, 0, 50, 70, 8)
    pop()
  }
}
Great, now we've got a looping animation! But you'll notice that it looks really mechanical. What can we do to make it look nicer?
Easing
Right now we're using linear motion. Most things in real life don't move with fully linear motion: think about how a car has to accelerate to get up to speed. Similarly, nothing stops instantly: everything has to slow down to a stop. Sometimes, they overshoot and bounce back a bit.
The art of easing is creating that behavior in your motion, which involves thinking about what the moving elements in your composition represent. Should they behave like things being slid across a table, slowly coming to a stop? Or are they more like items hanging from springs, so they fall down and bounce? There's no wrong answer, and this is where your judgment and taste come in. (Sometimes it's also good to break physical expectations for comedic effect!) In any case, for this animation I'm going to make our items look more springy and add a bounce.
An easing function is a helper that takes a linear progress value, between 0 and 1, and turns it into progress with a different feel. Take a look at this gallery of easing functions and copy one into your project. Here, I'll take easeOutElastic to get a springy feel.
let colors = ['#264653', '#2a9d8f', '#e9c46a', '#f4a261', '#e76f51']
function setup() {
  createCanvas(200, 200, WEBGL)
}

function draw() {
  let period = 3 * 60
  let progress = frameCount % period
  let entranceProgress = easeOutElastic(
    map(progress, 0, 2 * 60, 0, 1, true)
  )

  background(255)
  rectMode(CENTER)
  noStroke()
  let n = 5
  for (let i = 0; i < n; i++) {
    push()
    let offset = lerp(-height, 0, entranceProgress)
    translate(map(i, 0, n-1, -50, 50), offset + 10 * sin(i * 1.5))
    fill(colors[i])
    rect(0, 0, 50, 70, 8)
    pop()
  }
}

function easeOutElastic(t, magnitude = 0.7) {
  const p = 1 - magnitude;
  const scaledTime = t * 2;

  if ( t === 0 || t === 1 ) {
    return t;
  }

  const s = p / (2 * Math.PI) * Math.asin(1);
  return 2 ** (-10 * scaledTime)
    * Math.sin((scaledTime - s)
    * (2 * Math.PI) / p) + 1;
}
Staggering
That already has a different and distinctive feel! But there's still something unnatural about it: all the rectangles enter in lockstep. If this happened in the real world, it would imply that they're stuck together somehow. Staggering is the process of offsetting the motion of each item in time from the others, and it goes a long way towards making animated collections of items look more natural.
The easiest way to stagger an animation is to move the timing calculating inside of the for loop over your items, and shift the time per item. This could just mean adding a small offset, maybe a frame or two, per item, which I've done below. You can also consider adding a random offset per item to make the motion look less structured, but just make sure you use a consistent random seed so that the offset doesn't change every frame!
let colors = ['#264653', '#2a9d8f', '#e9c46a', '#f4a261', '#e76f51']
function setup() {
  createCanvas(200, 200, WEBGL)
}

function draw() {
  background(255)
  rectMode(CENTER)
  noStroke()
  let n = 5
  for (let i = 0; i < n; i++) {
    let period = 3 * 60
    let progress = frameCount % period - 3 * i
    let entranceProgress = easeOutElastic(
      map(progress, 0, 2 * 60, 0, 1, true)
    )
    push()
    let offset = lerp(-height, 0, entranceProgress)
    translate(map(i, 0, n-1, -50, 50), offset + 10 * sin(i * 1.5))
    fill(colors[i])
    rect(0, 0, 50, 70, 8)
    pop()
  }
}

function easeOutElastic(t, magnitude = 0.7) {
  const p = 1 - magnitude;
  const scaledTime = t * 2;

  if ( t === 0 || t === 1 ) {
    return t;
  }

  const s = p / (2 * Math.PI) * Math.asin(1);
  return 2 ** (-10 * scaledTime)
    * Math.sin((scaledTime - s)
    * (2 * Math.PI) / p) + 1;
}
Secondary Motion
Our entrance is looking good, but once the items have entered, they appear completely static. If you add some additional, subtle secondary motion on top of the entrance animation, it can keep it feeling "alive" and natural.
Secondary motion doesn't usually happen after the entrance completes; it usually overlaps. It would appear rigid and unnatural if an entrance fully finished and then a second animation spontaneously started. The easiest thing to do, and often what looks best, is to just have both animations running at once, both adding to the motion.
What should happen to the objects after they enter? In our case, continuing the metaphor of having our rectangles hang from springs, it would make sense for them to continue to bounce and sway a bit. Both of these are implemented with a sine wave: one for a vertical offset, and one for rotation.
let colors = ['#264653', '#2a9d8f', '#e9c46a', '#f4a261', '#e76f51']
function setup() {
  createCanvas(200, 200, WEBGL)
}

function draw() {
  background(255)
  rectMode(CENTER)
  noStroke()
  let n = 5
  for (let i = 0; i < n; i++) {
    let period = 3 * 60
    let progress = frameCount % period - 3 * i
    let entranceProgress = easeOutElastic(
      map(progress, 0, 2 * 60, 0, 1, true)
    )
    let bounce = 6 * cos(progress * 0.06)
    let swayAngle = PI * 0.02 * cos(progress * 0.03 + i * 1.5)
    push()
    let offset = lerp(-height, 0, entranceProgress)
    translate(map(i, 0, n-1, -50, 50), offset + bounce + 10 * sin(i * 1.5))
    rotate(swayAngle)
    fill(colors[i])
    rect(0, 0, 50, 70, 8)
    pop()
  }
}

function easeOutElastic(t, magnitude = 0.7) {
  const p = 1 - magnitude;
  const scaledTime = t * 2;

  if ( t === 0 || t === 1 ) {
    return t;
  }

  const s = p / (2 * Math.PI) * Math.asin(1);
  return 2 ** (-10 * scaledTime)
    * Math.sin((scaledTime - s)
    * (2 * Math.PI) / p) + 1;
}
Working with text
So far we've been working with some rectangles that we could space out evenly. While the same animation principles apply to text animations, layout can get a little more complicated.
Let's say we want to animate per letter. The first thing we need to do is split the text into characters by calling .split('') on it. Splitting on an empty string gives you an array of single letters as output. Then we need to measure how wide each one is using fontWidth (note that it's not textWidth: textWidth measures tight bounds while fontWidth measures the bounding box used for positioning.)
Next, we need to find the position to draw each letter at. Using textAlign(CENTER, CENTER), we want to find the center of each letter. That will be the rightmost edge of the previous letter plus half the letter's width. We can start from 0 and calculate all of those incrementally. At the end when, we've summed the total width of all the letters, we can subtract totalWidth/2 from all the positions to center-align the whole line rather than starting at the left.
let textInput
let font
async function setup() {
  createCanvas(200, 200, WEBGL)
  font = await loadFont('https://fonts.gstatic.com/s/inter/v13/UcCO3FwrK3iLTeHuS_fvQtMwCp50KnMw2boKoduKmMEVuFuYMZhrib2Bg-4.ttf')
  textInput = createInput('New templates weekly.')
}

function draw() {
  background(255)
  textFont(font)
  textAlign(CENTER, CENTER)
  textSize(14)

  let items = textInput.value().split('')
  let widths = items.map(char => fontWidth(char))
  let xs = []
  let totalWidth = 0
  for (let i = 0; i < widths.length; i++) {
    xs.push(totalWidth + widths[i] / 2)
    totalWidth += widths[i]
  }
  xs = xs.map(x => x - totalWidth / 2)

  for (let i = 0; i < items.length; i++) {
    let period = 3 * 60
    let progress = frameCount % period - 0.75 * i
    let entranceProgress = easeOutQuint(
      map(progress, 0, 2 * 60, 0, 1, true)
    )
    fill(0, entranceProgress * 255)
    text(items[i], xs[i], lerp(60, 0, entranceProgress))
  }
}

function easeOutQuint(t) {
  return 1 - Math.abs((t - 1) ** 5);
}
Animating by letter can be ok if, for example, you're animating text in as if it's being typed character by character, but it can quickly become a little powerpointy if there's bigger motion, as above. For that, animating by word will be subtler.
To do that, we can use most of the same code, but we don't want to split by letter. Instead, we want to split around spaces. It initially sounds like splitting on spaces with .split(' ') would do the job, but that splits on and removes the spaces. We still need to keep the spaces in so we can measure them! Regular expressions can help: a bracketed section of the split expression (a "capture group") will become a new item in the resulting list. So while .split(/ /) would have the same space-swallowing behavior, .split(/( )/) will work!
let textInput
let font
async function setup() {
  createCanvas(200, 200, WEBGL)
  font = await loadFont('https://fonts.gstatic.com/s/inter/v13/UcCO3FwrK3iLTeHuS_fvQtMwCp50KnMw2boKoduKmMEVuFuYMZhrib2Bg-4.ttf')
  textInput = createInput('New templates weekly.')
}

function draw() {
  background(255)
  textFont(font)
  textAlign(CENTER, CENTER)
  textSize(14)

  let items = textInput.value().split(/( )/)
  let widths = items.map(char => fontWidth(char))
  let xs = []
  let totalWidth = 0
  for (let i = 0; i < widths.length; i++) {
    xs.push(totalWidth + widths[i] / 2)
    totalWidth += widths[i]
  }
  xs = xs.map(x => x - totalWidth / 2)

  for (let i = 0; i < items.length; i++) {
    let period = 3 * 60
    let progress = frameCount % period - 4 * i
    let entranceProgress = easeOutQuint(
      map(progress, 0, 2 * 60, 0, 1, true)
    )
    fill(0, entranceProgress * 255)
    text(items[i], xs[i], lerp(60, 0, entranceProgress))
  }
}

function easeOutQuint(t) {
  return 1 - Math.abs((t - 1) ** 5);
}
Putting it all together, you can get something like this:
Breaking down examples
Let's take a look at what some designers have made and see how they're using these easing/staggering/secondary motion techniques.
Each of these are mini tools that can be used as a block in a larger video, and all can be used yourself in Butter.
Justified Studio
Here we see an example very similar to the one we made above:
- Each image card pops into existence with elastic easing, out from the center. When they retreat back to the center at the end, they do so with a cubic ease in.
- Each image has a slight offset in time from the previous.
- While the images enter and exit, the whole scene is slowly rotating about the Y axis.
ilovecreatives
This one might be a bit harder to see because it has also been designed to be a loop. Try focusing on one line at a time:
- Each line enters and exits with a smooth cubic ease out and ease in, respectively. The moment the exit finishes, it enters again from the left.
- Each line is offset in time from the next. Unlike the previous example, there is never a state where everything is done entering or exiting: because each line immediately restarts its animation, when the first line restarts, the last line is still in the process of exiting.
- While all this is happening, the width of the masked image in the middle of each line is slowly shifting using a sine function, ensuring the line is always in motion.
Kiel Danger Mutschelknaus
The motion in this one is even more complicated than the rest because there are multiple steps to it. I think I actually need to make a diagram to help explain the different steps and how they overlap:

So here's what we've got:
- In the entrance/exit animations of the letters, every letter enters with cubic easing. Notably, they don't enter from nothing; they immediately appear with some stretch or skew, and then ease in to their original form.
- In the entrance/exit animations, each line starts with a slight time offset from the previous line. Within each line, each letter additionally has a slight time offset from the previous line.
- There is not one single secondary motion, but the entrances and exits are still bridged by continuous motion that almost never pauses. This is accomplished by layering a few different state transitions—shrinking the line height, letters transitioning into a new stretch/skew state, columns shifting—such that something is always moving. (The one exception is after the line height changes, where we have a brief moment where velocity has slowed to a stop.) Together, they fill the role of secondary motion.
Experimenting on your own
We've seen some examples of layered animation principles giving different feels: some springy, some smooth, some jittery and cacophonous. There are a lot of possible combinations and possibilities!
I encourage you to try some of these out yourself. Open up the p5.js web editor or OpenProcessing, or make a block on Butter to be able to scrub through a timeline as you work. Test out different easing functions to see what feel they give. Try using more and less staggering, or staggering by different batches of items. Try replacing continuous motion with a few different overlapping state transitions. Once you're comfortable, try intentionally removing some of the above to surprise viewers.
If you've made something cool that you think others would be able to make use of, reach out to us to list it in Butter's block marketplace!